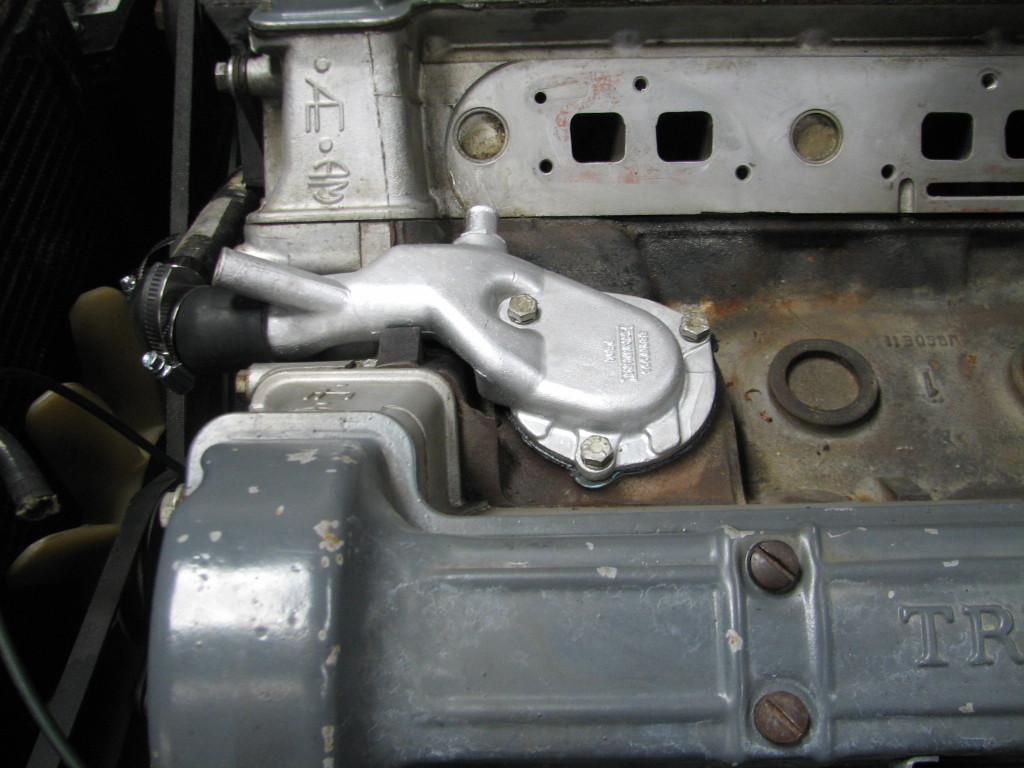
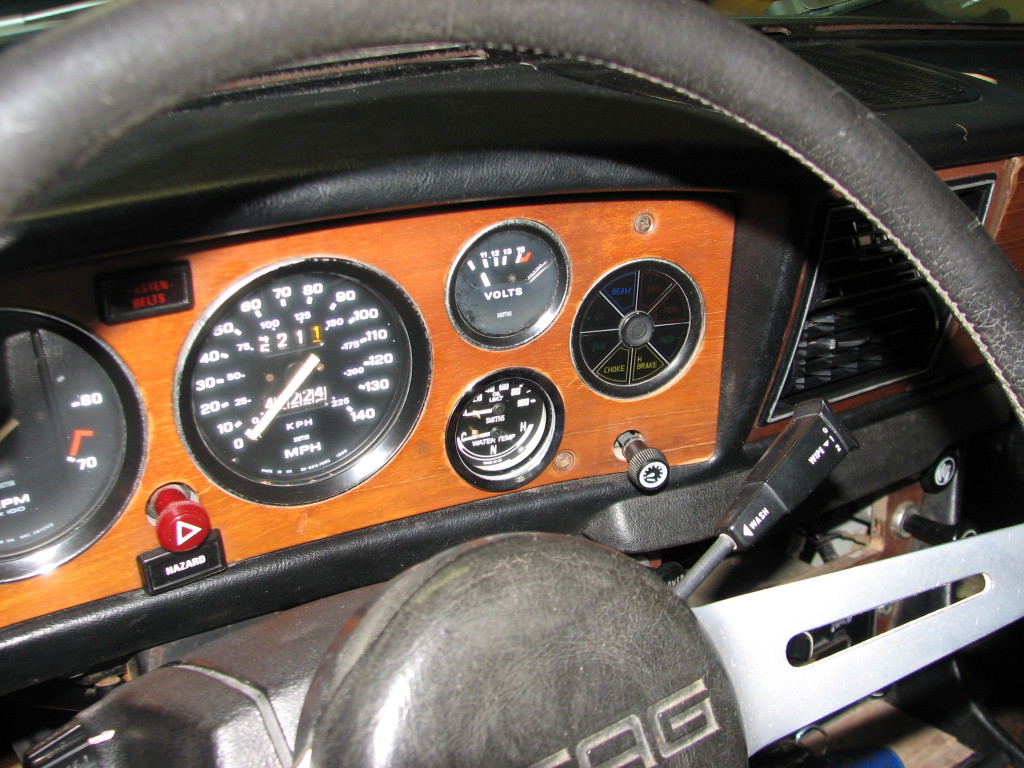
Let’s take a look at the progress on the Stag. If you’re just tuning in, we’re installing a Throttle Body Injection Kit from Patton Machine. Dean has already dealt with a malfunctioning window switch and a rusted windshield wiper motor (see this post). Next, the water pump was leaking, which necessitates removing the intake manifold. (Click any picture to expand.)
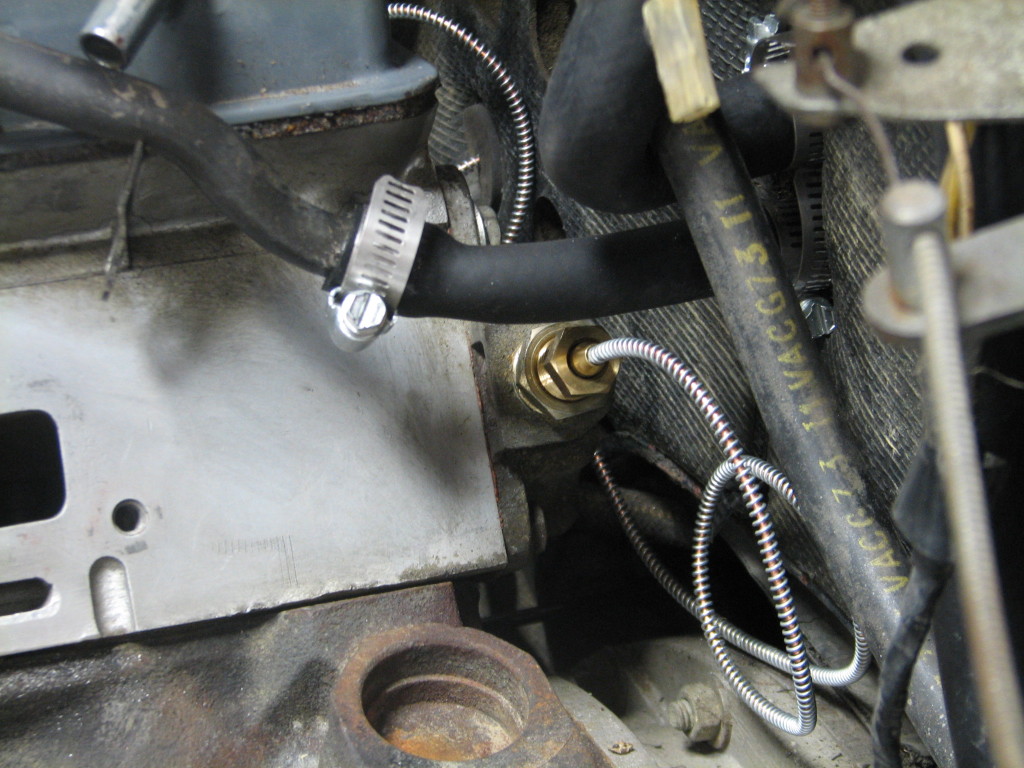
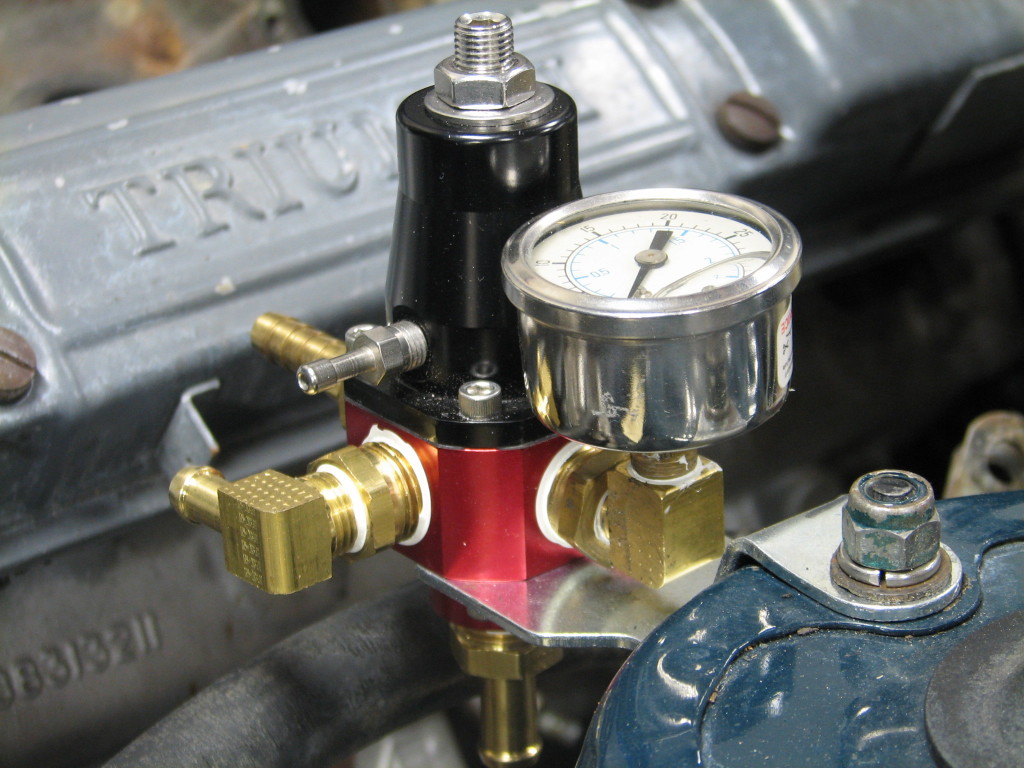
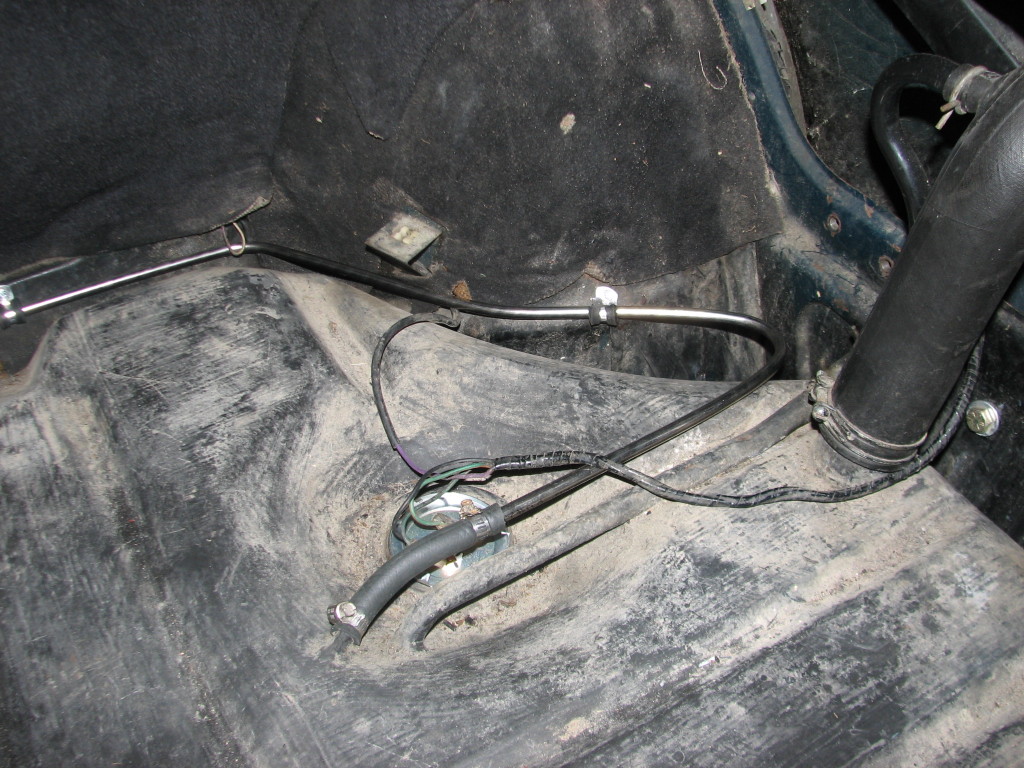
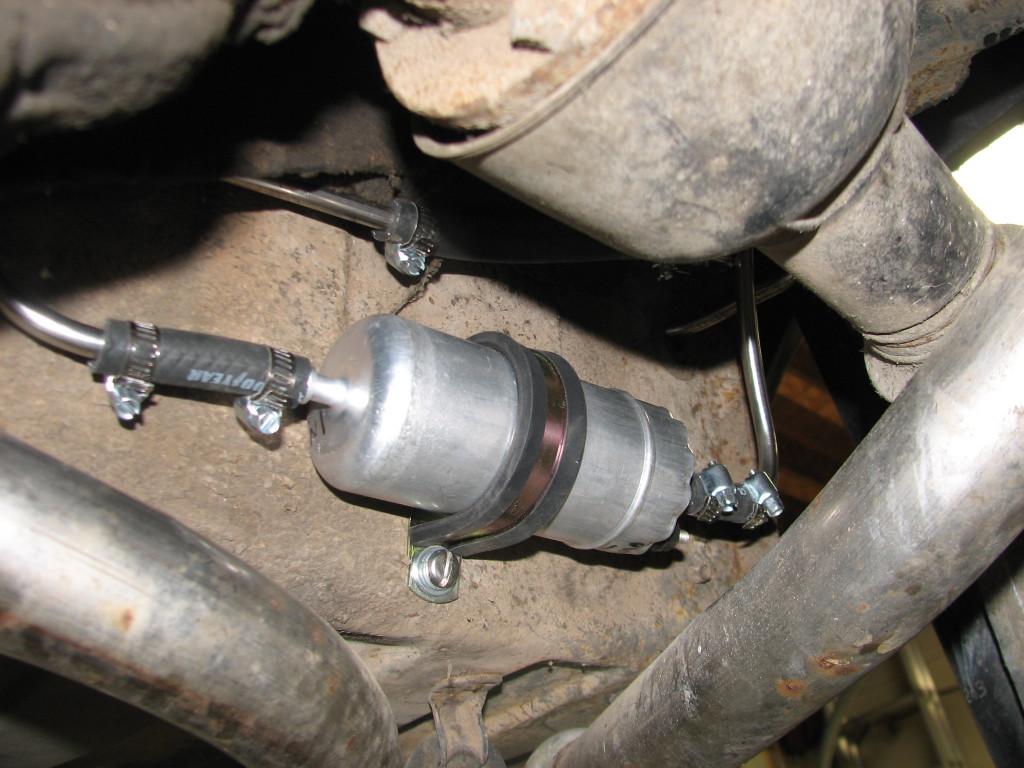
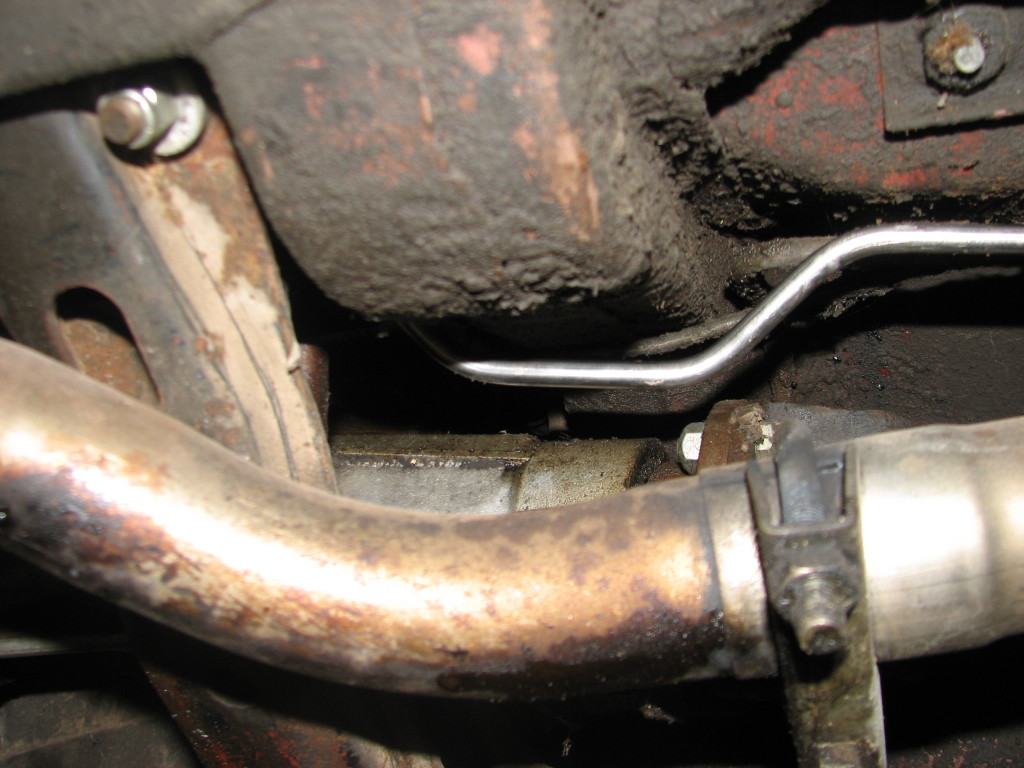
Once the water pump was sorted, we began installing the parts for the fuel injection conversion. The photo below is a shot of one of the sensors. This particular sensor measures coolant temperature. Additional photos below illustrate the Fuel Pressure Regulator, the new fuel line to the engine, the new return line back to the tank, and the fuel pump mounted underneath the car. Scroll down to take a look and read more details.
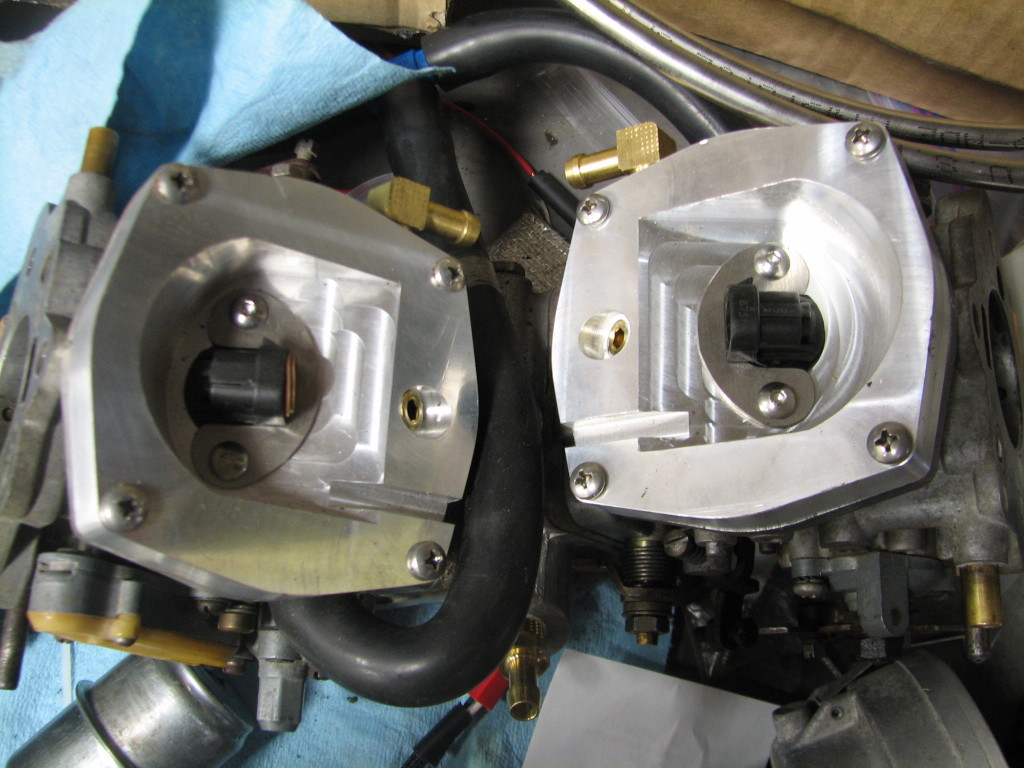
Here are the adapter plates (with injectors) attached to the carbs. In this picture they are on the workbench.
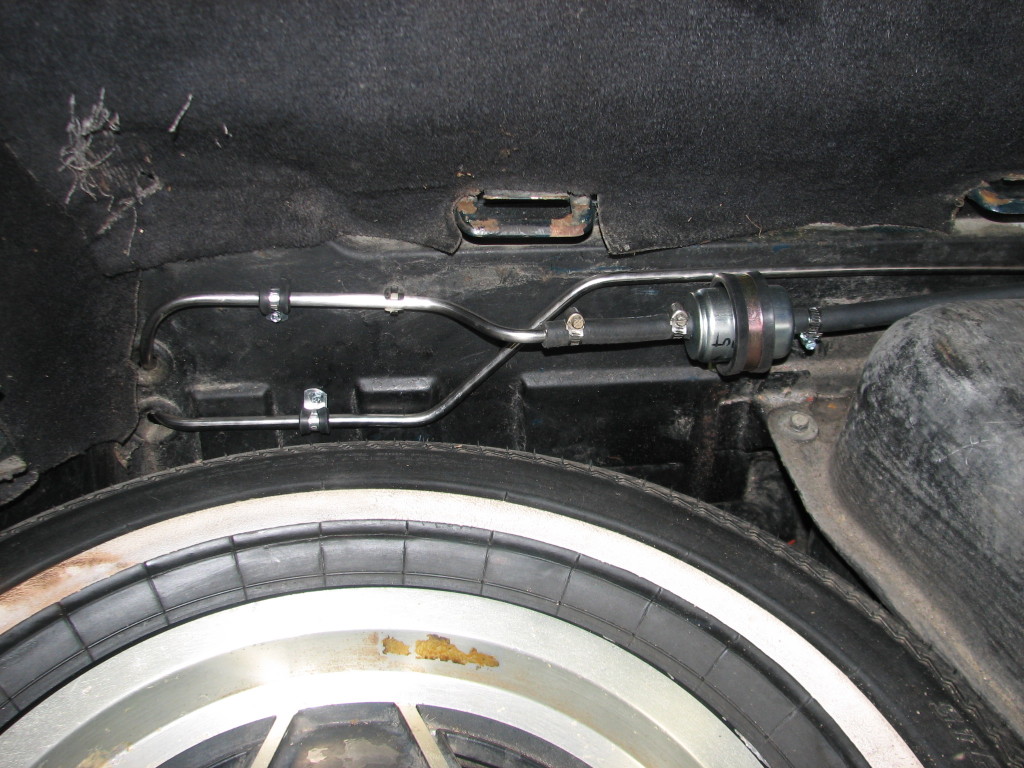
We’re in the trunk for this picture. Both of these lines are new and bent by Dean. The line with the filter on it is the outbound line and the other line is the return line back to the tank.
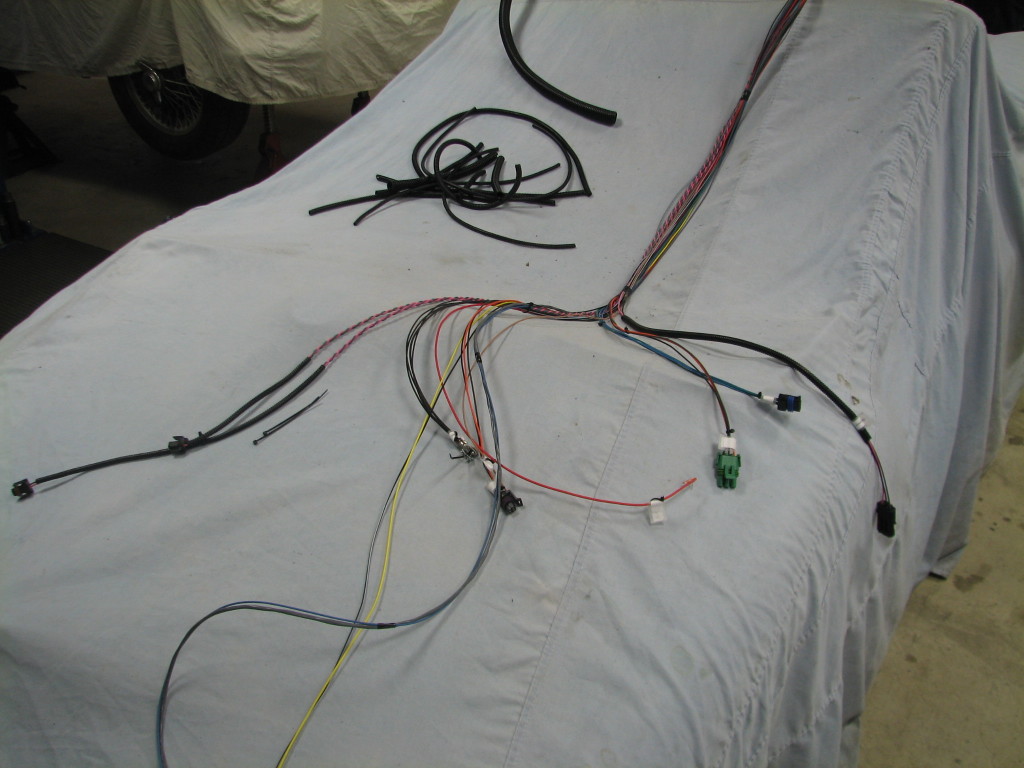
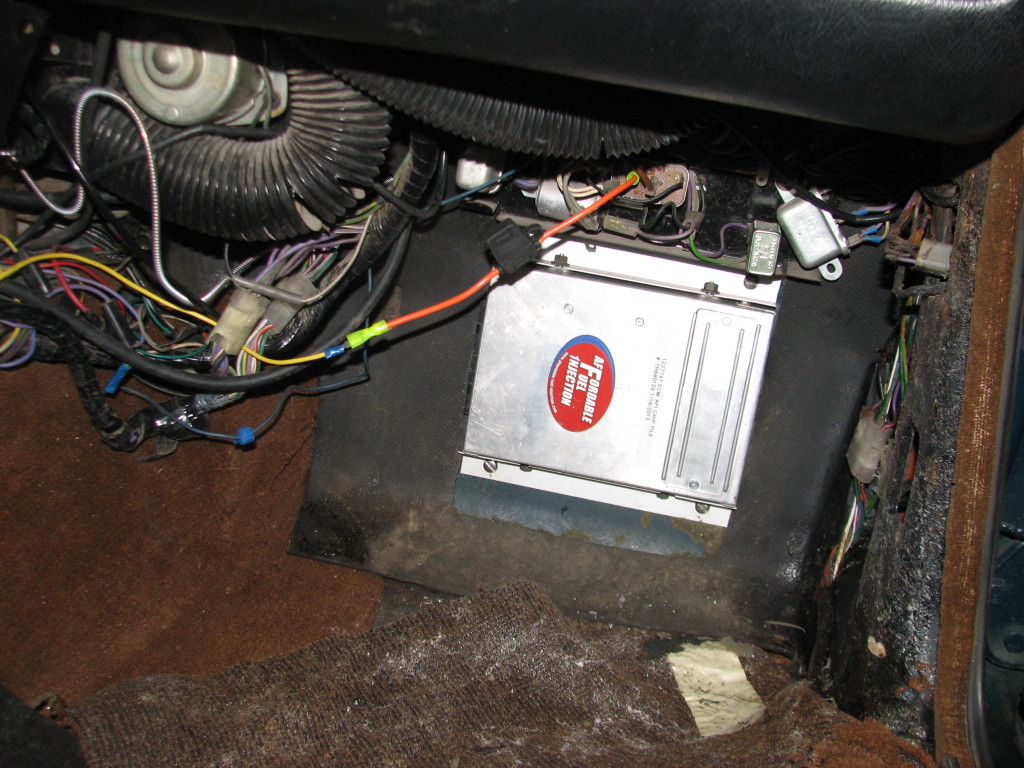
Here is the wiring harness that comes with the Fuel Injection Kit. We are going to modify the harness so that it fits better in the car. It’s a bit lengthy as it comes and we think we can make the installation a bit more tidy. Patton doesn’t do a Stag specific kit, so we’re adapting this one to work.

